Some of you have heard me talk about cold capping but most of you might not know what it is and why I do it. Consider this to be Hannah in Cancerland Cold Capping 101.
Cold capping is a thing chemo patients can do in an effort to preserve their hair. It’s called cold capping because the patient puts a specially designed cap on their head that cools the scalp during treatment. The idea is that the cold will cause the blood vessels to constrict which causes less of the chemo to reach the scalp. It also slows the cellular activity down in and around the hair follicle which may allow the hair to “hang on” a little longer.
Enhertu, the chemo I am currently on, causes complete alopecia in about 30% of patients and the rest have some degree of thinning. I want to keep as much of my hair for as long as possible so I asked about cold capping before I got started. I have experienced quite a bit of thinning, but I still have my hair! This may seem like a silly thing to get excited about, it’s just hair after all. But to my kids, their friends, just being in the world as “normal” person, having hair makes a big difference.
Cold capping isn’t usually covered by insurance and runs a few hundred dollars per month. There is a lot of variation in cost. I was lucky enough to be enrolled in a research study looking at cold capping effects on Enhertu treated patients. That means I get my cold capping system for free. It’s a pretty sweet deal!
Cold capping isn’t something infusion nurses are trained to administer, so any experts in the infusion suite are experts because of experience with other patients. I was “trained” by a nursing assistant and was instructed to watch videos online before I got started with it. With each infusion I work with my chemo buddy (which is most often my father in law) and my nurse to put the cap on. Believe me, it’s a team effort!
So what does cold capping look like when I am getting the infusion? After I am given ibuprofen and Ativan to take the edge off we get started:
Step 1: Get my roots soaking wet with a spray bottle. Doing this will create a better “connection” with scalp and cap.
Step 2: Put conditioner all over the area where the frozen cap will sit. This will help when taking the cap off because it will slide easily off my head once it’s frozen.
Step 3: Apply cotton or panty liners to forehead where cold cap might touch. This is to avoid frostbite. Gotta protect the skin!
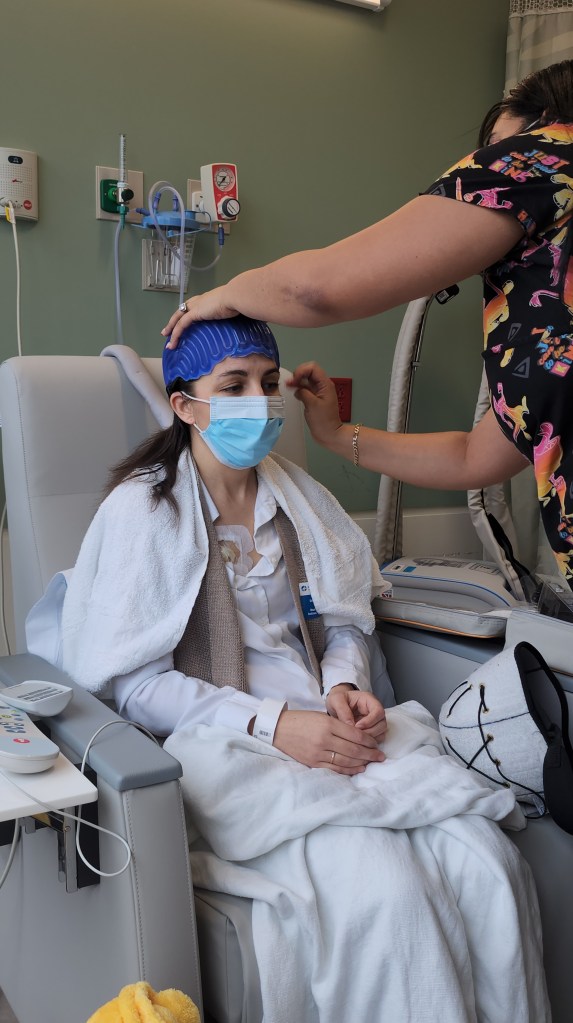
Step 4: Put the blue cold cap on first. This cap has a hose out the back which hooks into a machine that pumps cold water through the cap for the duration of the treatment. Think avatar character bonding to animals or trees.
Step 5: Put outer cap over the blue cap. This insulates and holds everything in place for the duration of the treatment. It looks a little like a water polo helmet or the helmet that Natalie Portman wears in Garden State. This is a funny step because I have to have my buddies to put this on (it’s tight!) and it requires a major cinching down to make sure the cold cap underneath makes the best contact with your hair/scalp. After it’s cinched I release the cords and straps to the point that it’s just comfortable enough.

Step 6: Start the pump!
Now, the cold cap has to run 30 minutes before the infusion (I get my premeds during this time), during the infusion itself (mine is currently 30 min long), and for 90 min post infusion. If you’re the math doing sort of person that’s freezing my scalp for 2.5hrs. It’s a long time. So I bundle up, throw the seat heater on, and take a nap (thanks Ativan!).


Thank you for sharing – I think of you almost daily and hold you close in my heart.
LikeLiked by 1 person